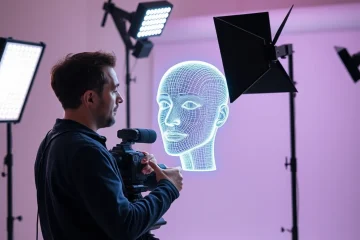
A Comprehensive Guide To Upscaling AI Images For High Quality Printing
Understanding Print Resolution Requirements
Print resolution refers to the amount of detail an image holds when printed onto a physical medium. This is measured in DPI, or dots per inch, which indicates how many individual dots of ink a printer can place within a one-inch linear space. Higher DPI values translate to more dots packed into each inch, resulting in sharper, clearer, and more professional-looking prints. For digital images intended for print, the corresponding measurement is PPI, or pixels per inch, which defines the image’s pixel density.
The importance of DPI cannot be overstated for achieving high-quality results. An image with insufficient resolution will appear blurry, pixelated, or jagged when printed, as the printer lacks the necessary data to recreate fine details smoothly. Conversely, an image with excessively high resolution provides no visual benefit beyond the printer’s capabilities and unnecessarily increases file size. Therefore, understanding and applying the correct DPI is a fundamental step in preparing any image for print, especially AI-generated artwork where control over the initial output is crucial.
Why DPI Matters
DPI, or dots per inch, is the fundamental unit of measurement for print quality. It refers to the number of individual dots of ink a printer can place within a one-inch linear space. A higher DPI count means the printer can pack more dots into that area, resulting in finer detail and smoother color transitions. This metric is crucial because it directly determines the clarity and sharpness of a physical print, separating a professional-looking photograph from a pixelated, low-quality image.
The establishment of 300 DPI as the industry gold standard is rooted in the capabilities of human vision. At a typical viewing distance of about 10-12 inches, the human eye can discern individual dots at resolutions lower than 300 DPI. However, when an image is printed at 300 DPI, the dots become so small and tightly packed that they blend together seamlessly. This creates the illusion of a continuous-tone image, free from visible pixelation or a grainy texture. [Source: Lifewire] Essentially, 300 DPI meets, and in many cases exceeds, the resolving power of the human eye for standard print sizes, ensuring the highest perceived quality.
Choosing a resolution lower than 300 DPI can have several negative impacts on your final print: visible pixelation where individual squares of color become apparent; lack of sharpness in fine lines and text; and poor color blending where gradients appear banded instead of smooth. While a resolution of 150 DPI might be acceptable for a large banner viewed from a distance, it falls short for anything meant to be examined up close, like a photograph in a book or a fine art print. [Internal Link: Our Blog]
Calculating Your Target Size
Before calculating your maximum print size, you need to understand the relationship between image resolution and print quality. The standard benchmark for high-quality prints is 300 PPI (pixels per inch), which ensures crisp, detailed output without visible pixelation. This means for every inch of your printed image, you need 300 pixels of image data. Many professional photographers and print services consider this the gold standard for gallery-quality prints.
Determining your maximum print size requires basic division. Take your image’s pixel dimensions and divide each by your desired PPI. For example, an AI-generated image at 1024×1024 pixels divided by 300 PPI gives you approximately 3.4×3.4 inches. Meanwhile, a higher-resolution 2048×2048 pixel image at the same PPI yields about 6.8×6.8 inches. This straightforward approach gives you a reliable starting point for quality printing.
Several variables can influence how large you can print while maintaining quality. First, viewing distance plays a crucial role—images viewed from farther away can tolerate lower PPI. Billboard prints, for instance, often use resolutions as low as 20 PPI because viewers stand dozens of feet away. Additionally, the subject matter and artistic style affect perceived quality. Abstract AI art styles with intentional texture might appear acceptable at slightly lower resolutions than photorealistic images where detail matters more.
Common Print Scenarios
For standard photo prints like 4×6 or 5×7 inches, a resolution of 300 PPI (pixels per inch) is the industry standard. This ensures sharp details without visible pixelation when viewed at arm’s length. A 4×6 inch print requires an image size of 1200×1800 pixels, while an 8×10 inch print needs 2400×3000 pixels. Many photo labs, including major services like Shutterfly, recommend this resolution for optimal quality. However, modern upscaling technology can sometimes compensate for slightly lower resolutions, especially for personal keepsakes.
Art prints and professional portfolio pieces demand higher quality standards. For 11×14 inch or larger fine art prints, maintaining 300 PPI is crucial for preserving brushstroke details and color gradients. This often requires starting with high-resolution digital files from professional cameras or AI-generated artwork created at maximum quality settings. The enhanced detail becomes particularly important when viewers examine prints closely in galleries or exhibitions. Many professional printers, such as those using Epson’s advanced printing technology, can reveal even subtle imperfections at this scale.
Large format printing follows different rules than small-scale projects. For posters (24×36 inches) viewed from 3-6 feet away, 150-200 PPI often suffices. As size increases to banner dimensions (3×6 feet or larger), resolution requirements decrease further to 100 PPI or less. This reduction works because viewers naturally stand farther from large displays. The Large Format Printing Association notes that file preparation techniques, including proper scaling and compression, become more important than raw pixel count for these applications.
Top AI Upscaling Tools Compared
For professional printing projects requiring the highest fidelity, premium AI upscaling tools deliver superior results. These platforms leverage advanced neural networks to intelligently add detail and reduce artifacts during enlargement. Topaz Labs’ Gigapixel AI is widely regarded as the industry standard, capable of upscaling images up to 600% while maintaining exceptional sharpness and texture detail. Its batch processing feature is invaluable for handling multiple print-ready files efficiently.
Another powerful contender is Adobe’s Super Resolution feature within Lightroom and Camera Raw. This tool doubles the linear resolution of RAW photos, effectively quadrupling the megapixel count. For photographers already embedded in the Adobe ecosystem, it provides a seamless, non-destructive workflow for creating high-resolution prints. Meanwhile, ON1 Resize AI (formerly Perfect Resize) offers a unique advantage with its support for Genuine Fractals technology, which is specifically engineered for extreme enlargements while preserving sharp edges and fine details.
When selecting an AI upscaling tool for printing, several factors demand consideration. Output resolution and format support are crucial; ensure the tool can deliver the DPI (dots per inch) required by your printer and supports industry-standard formats like TIFF for maximum quality preservation. The type of content being upscaled also matters significantly—some tools excel with photographic content while others are optimized for digital art or graphics.
Premium Powerhouses
Topaz Gigapixel AI represents a significant advancement in AI-powered image enlargement technology. This specialized software uses deep learning algorithms to intelligently analyze image patterns and textures, enabling it to add realistic detail during upscaling processes. Unlike traditional interpolation methods that often produce blurry results, Gigapixel AI can increase image resolution by up to 600% while maintaining sharp edges and preserving fine details.
The software excels particularly with photographic content, where it can recover texture in facial features, enhance architectural details, and maintain the integrity of natural elements like foliage and water. Professional photographers and digital artists frequently use Gigapixel AI for preparing images for large-format printing, restoring old photographs, and improving low-resolution stock imagery. According to Topaz Labs’ official documentation, the software trains on millions of image pairs to understand how to reconstruct missing information accurately.
Adobe has integrated sophisticated AI capabilities directly into Photoshop through its Neural Filters platform. These cloud-powered tools leverage machine learning to perform complex image adjustments that previously required extensive manual work. The platform includes specialized filters for tasks like skin smoothing, color transfer, style transfer, and intelligent portrait retouching.
One of the most powerful features is the Super Zoom filter, which uses AI to maintain detail when dramatically cropping into images. Meanwhile, the JPEG Artifacts Removal filter can intelligently reconstruct compressed image areas, making it invaluable for recovering detail from heavily compressed web images. Adobe’s approach differs from standalone tools by integrating AI capabilities directly into the familiar Photoshop workflow, allowing for non-destructive editing and seamless combination with traditional editing techniques. As noted in Adobe’s official guide, these filters continuously improve as more users employ them, creating a feedback loop that enhances their accuracy over time.
Free Alternatives
For creators working with limited budgets, several powerful AI upscaling tools are available at no cost. These applications use sophisticated neural networks to increase image resolution while preserving detail, making them ideal for enhancing digital artwork, photographs, and other visual projects without financial investment.
Upscayl stands out as a completely free and open-source AI image upscaler that runs locally on your computer. This cross-platform tool supports multiple AI models and allows batch processing, making it particularly valuable for artists who need to upscale multiple images simultaneously. Since it processes images locally, your files never leave your computer, ensuring complete privacy and security for your creative work [Source: Upscayl GitHub].
The software includes several pre-trained models optimized for different types of images, from photographs to digital artwork. Users can achieve up to 4x magnification while maintaining sharp details and natural textures. Additionally, Upscayl’s active development community continuously improves the tool with new features and model optimizations.
Let’s Enhance offers a freemium model that provides substantial value at no cost. The platform’s free tier includes 10 credits monthly, allowing users to process several images using their advanced AI algorithms. This web-based service specializes in both upscaling and enhancing image quality through noise reduction and color correction [Source: Let’s Enhance].
Meanwhile, the platform’s AI technology analyzes image content to apply the most appropriate enhancement techniques. For example, it can distinguish between photographic elements and graphic elements within the same image, applying different optimization strategies to each. This intelligent processing makes it particularly effective for complex compositions that combine multiple visual elements.
Web-Based Solutions
Online AI image upscaling tools offer instant enhancement capabilities without requiring software installation. These platforms use sophisticated neural networks to analyze and reconstruct images at higher resolutions while preserving crucial details. Unlike traditional upscaling methods that often create blurry results, AI-powered solutions maintain sharpness and texture integrity throughout the enlargement process.
Upscale.media provides a straightforward interface for quick image enhancements, supporting up to 4x enlargement while automatically reducing noise and artifacts. The platform processes images rapidly and maintains high-quality output across various file formats.
Let’s Enhance offers advanced AI algorithms capable of upscaling images up to 16x their original size. This platform excels at preserving textural details and color accuracy, making it particularly valuable for professional photographers and digital artists. Their technology analyzes image content to apply the most appropriate enhancement techniques for each specific case.
Bigjpg specializes in anime and illustration upscaling, using deep convolutional neural networks to maintain clean edges and vibrant colors. The service supports both lossless and artistic upscaling modes, catering to different creative needs and preferences.
The primary benefit of online upscaling tools is their accessibility. Users can enhance images from any device with internet connectivity, eliminating compatibility concerns and storage limitations. Most platforms offer free tiers with basic functionality, while premium subscriptions unlock higher resolution limits and batch processing capabilities.
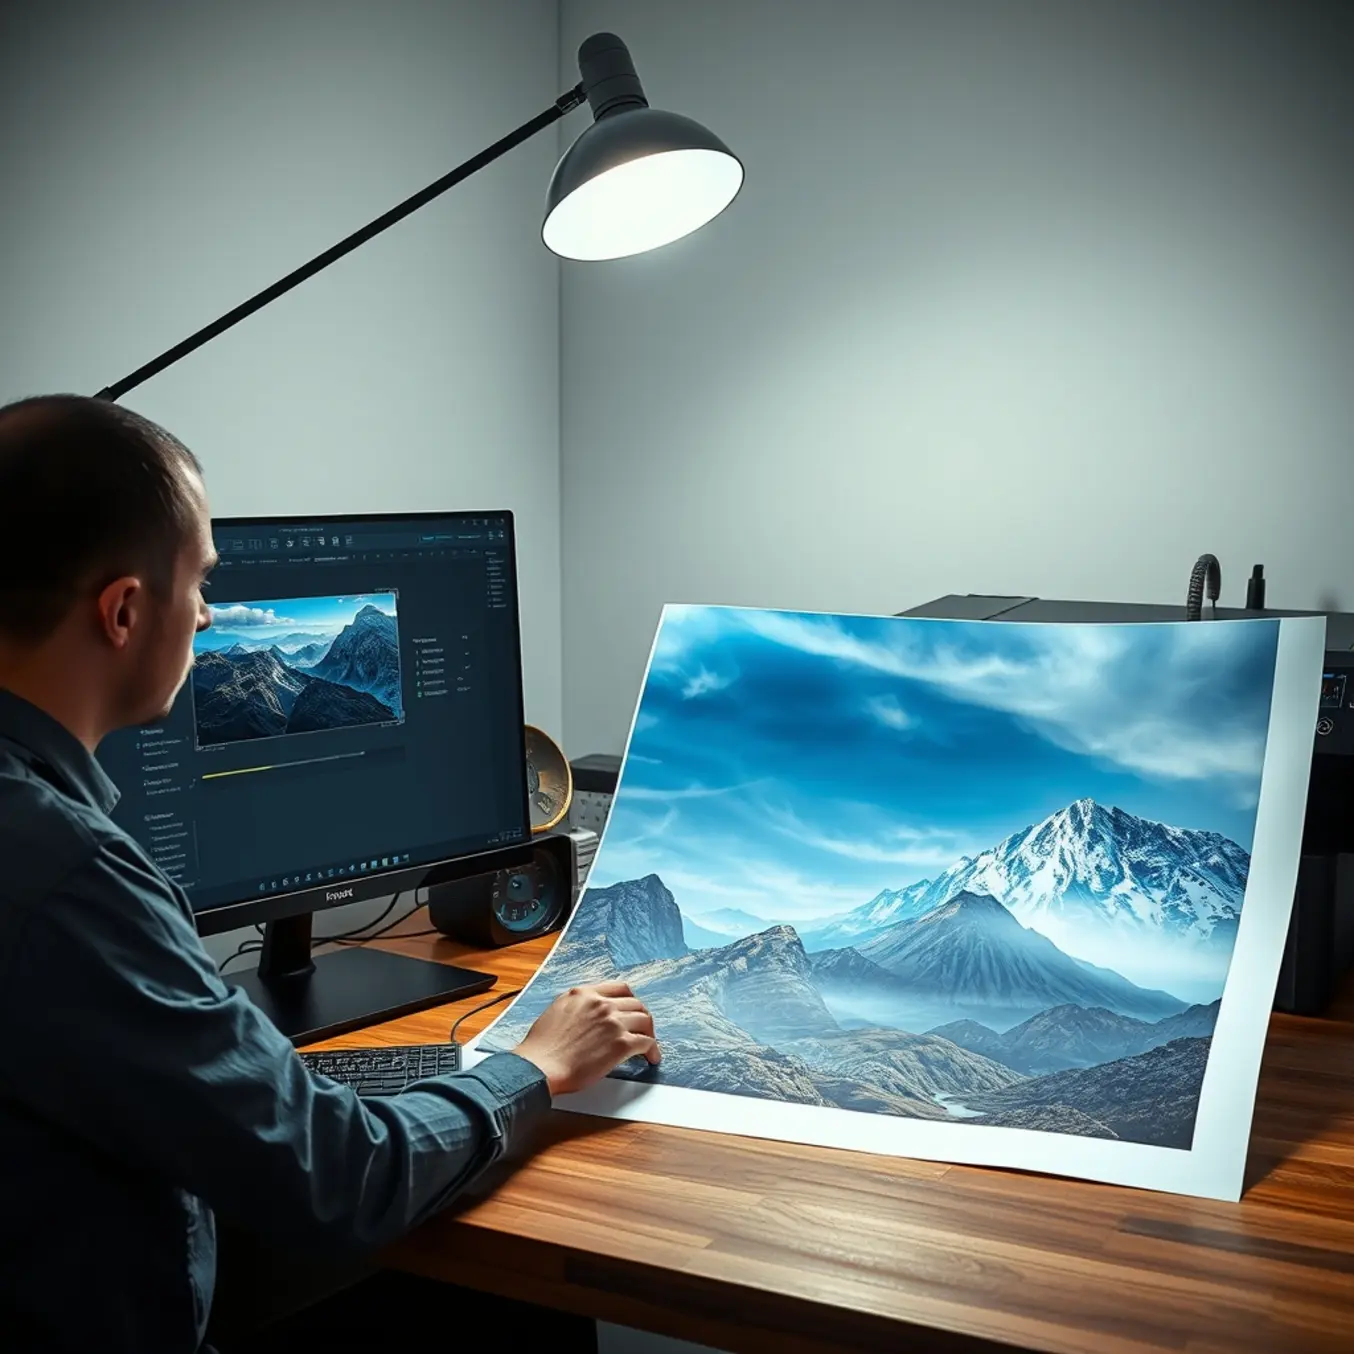
Step-by-Step Upscaling Workflow
Before beginning the upscaling process, proper image preparation is essential for achieving optimal print quality. Start by selecting the highest resolution source file available, as this provides the AI model with the most data to work with. Additionally, perform basic corrections for exposure, contrast, and color balance before upscaling, as these adjustments become more challenging to implement effectively after the image has been enlarged. For example, correcting chromatic aberration or removing sensor dust spots should always be addressed in the original resolution file first. [Source: Adobe Creative Cloud]
When running the AI upscaling algorithm, begin with conservative settings and gradually increase the enhancement parameters as needed. Most professionals recommend starting with a 2x enlargement, then assessing the results before proceeding to higher magnification levels. This iterative approach helps maintain image quality while minimizing the introduction of artificial-looking artifacts. Meanwhile, pay close attention to how the AI handles different texture types within your image, as some algorithms may over-sharpen certain elements while preserving others perfectly. [Source: Photography Life]
The final stage involves optimizing your upscaled image for the specific printing method and medium you’ll be using. Convert your file to the appropriate color profile for your printer and paper type, typically Adobe RGB or ProPhoto RGB for professional results. Moreover, carefully consider the output resolution—while AI upscaling can significantly increase pixel dimensions, the optimal PPI (pixels per inch) varies depending on viewing distance and print size. For instance, large format prints viewed from a distance may require lower PPI than fine art prints intended for close inspection. [Source: B&H Photo Video]
Preparing Your Source Image
Starting with a high-quality source image is crucial for achieving optimal AI upscaling results. Higher resolution inputs provide more pixel data for AI algorithms to analyze and enhance, leading to sharper final images with better detail preservation. For example, a 1024×1024 pixel image will typically upscale much more effectively than a 256×256 pixel version of the same content. This principle applies across all AI art styles, from photorealistic to abstract generations.
Modern AI image generators like Midjourney and Stable Diffusion produce increasingly higher base resolutions, but understanding your starting point remains essential. Aim for source images with at least 1 megapixel (approximately 1000×1000 pixels) when possible, as this provides sufficient data for the upscaling process. Meanwhile, images with complex textures, fine details, or intricate patterns benefit most from higher starting resolutions. Research from Google Research demonstrates that higher input resolutions significantly improve super-resolution outcomes across various AI models.
Beyond resolution, source image quality encompasses several critical factors. Compression artifacts, noise, and blurriness can all negatively impact upscaling results. Therefore, always start with the cleanest possible generation before applying any upscaling techniques. Additionally, avoid excessive JPEG compression in your source files, as this introduces artifacts that AI upscalers may misinterpret as genuine image content. According to NVIDIA’s research, cleaner input images consistently produce superior upscaling outcomes with fewer visual anomalies.
Choosing the Right Settings
Mastering AI image upscaling requires finding the perfect equilibrium between enhancing detail and avoiding artificial-looking artifacts. This balance is crucial whether you’re working with digital art, photographs, or any visual content that needs resolution improvement. The key lies in understanding how different settings interact and affect your final output.
Most AI upscaling tools offer various parameters that control how aggressively the algorithm enhances details. Sharpening settings, for instance, can bring out fine textures and edges but may also introduce halos or exaggerated contrasts when pushed too high. Similarly, noise reduction can clean up grainy images but might smooth out legitimate details if over-applied.
According to research from Adobe’s imaging experts, the most effective approach involves gradual adjustments rather than extreme settings. They recommend starting with conservative values and incrementally increasing enhancement parameters while closely monitoring the results for any signs of artificial artifacts.
Artificial artifacts in AI upscaling typically manifest as several distinct visual problems. These include: oversharpening halos around edges; textural inconsistencies in uniform areas; unnatural patterns in previously smooth gradients; and exaggerated noise in shadow regions.
The NVIDIA research team notes that these artifacts often occur when the AI model attempts to create information that wasn’t present in the original image. Consequently, understanding what to look for helps you make informed adjustments to prevent these issues.
Batch Processing
When preparing dozens or even hundreds of AI-generated images for large format printing, processing each file individually becomes impractical. Batch processing enables you to upscale multiple images simultaneously while maintaining consistent quality across your entire project. This approach saves significant time while ensuring all your images meet the resolution requirements for professional printing.
Several software solutions specialize in batch processing for AI images. Topaz Labs Gigapixel AI offers robust batch capabilities, allowing you to process entire folders of images with consistent upscaling settings.