The Ultimate Guide To Creating High Quality Images In Midjourney
Getting Started with Midjourney: Setup and First Steps
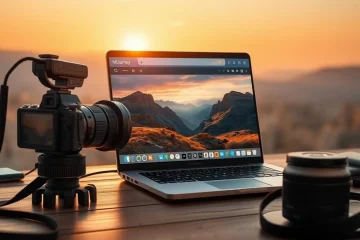
To begin creating with Midjourney, you’ll first need a Discord account, as the AI operates entirely within this platform. After joining the official Midjourney Discord server, you must subscribe to a paid plan on their website to generate images. Once subscribed, you can either use the public newcomer channels or add the Midjourney Bot to your own private server for a more controlled environment. This setup process is your gateway to one of the most powerful AI tools transforming digital art today.
Understanding Basic Commands
Interaction with Midjourney is done through text commands in Discord. The core command is /imagine. To use it, simply type /imagine prompt: followed by your descriptive text. For example, /imagine prompt: a serene mountain landscape at sunset. After you submit, Midjourney will generate a grid of four initial image variations. You can then use the U1, U2, U3, or U4 buttons to upscale a specific variation to a higher resolution, or the V1-V4 buttons to create new variations based on a selected image. Familiarizing yourself with these commands is the first step toward writing perfect AI prompts.
Crafting Your First Effective Prompt
A well-structured prompt is the key to generating high-quality images. Start with a clear subject, then add descriptive details about the environment, mood, and artistic style. For instance, instead of “a cat,” try “a fluffy Siberian cat perched on a windowsill, golden hour lighting, photorealistic style, shallow depth of field.” This approach provides the AI with specific visual cues to work from. According to Midjourney’s documentation, the more descriptive and concrete your language, the more likely you are to get a result that matches your vision (Source: Midjourney Documentation).
Essential Prompt Parameters and Modifiers
Beyond the description, you can use parameters to control the output. These are added to the end of your prompt. Key parameters for beginners include:
- –ar: Sets the aspect ratio (e.g.,
--ar 16:9for widescreen). - –v: Specifies which version of the Midjourney model to use (e.g.,
--v 6.0). Newer versions often offer improved coherence and detail. - –style: Adjusts the stylization of the image. A lower value sticks closer to your prompt, while a higher value allows more artistic interpretation.
- –no: Excludes elements (e.g.,
--no text, blurry).
Experimenting with these settings is crucial for learning how to guide the AI effectively, a foundational skill for any form of AI-powered concept art creation.
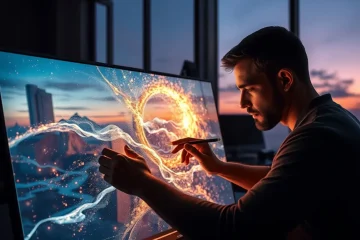
The Art of the Prompt: Advanced Communication Techniques
Crafting the perfect AI-generated image starts with the prompt. This initial instruction is your primary tool for communicating your creative vision to the machine. Effective prompt engineering blends specificity with artistic language, transforming vague ideas into stunning visual results. For a foundational understanding, our ultimate guide for beginners is an excellent starting point.
Foundational Prompt Engineering Techniques
Begin with a clear subject. Instead of “a dog,” specify “a majestic Siberian Husky with piercing blue eyes.” Next, incorporate descriptive adjectives and adverbs to set the mood—think “serenely floating” or “dramatically lit.” Furthermore, define the environment and composition. For instance, “standing on a windswept Arctic ridge at golden hour” provides crucial context that shapes the final image.
Moreover, using art style references is a powerful shortcut. You can directly name movements like “Art Nouveau” or “Impressionism,” or reference specific artists such as “in the style of Hayao Miyazaki.” For a deep dive into contemporary aesthetics, explore our list of top AI art styles to explore. Additionally, technical parameters like aspect ratio (e.g., `–ar 16:9`), model version, and desired resolution (`–quality 2`) give the AI precise framing instructions.
Advanced Methods for Precision and Control
For complex projects, advanced techniques are essential. One powerful method is negative prompting. By specifying what you *don’t* want (e.g., `–no blurry, deformed hands, text`), you can steer the AI away from common flaws. Our guide to fixing details covers this in depth.
Another key strategy is prompt weighting. Using symbols like parentheses `()` to increase emphasis and square brackets `[]` to decrease it allows you to balance elements. For example, `(vibrant neon lights:1.3)` tells the AI to prioritize that feature. This is crucial for maintaining character consistency across multiple images.
Finally, iterative refinement is where the real magic happens. Treat your first output as a draft. Analyze what worked and what didn’t, then refine your prompt. Adjust the lighting, swap a descriptor, or change the camera angle. This process of gradual improvement, detailed in our step-by-step guide to better prompts, is the hallmark of a skilled AI artist.
Fine-Tuning Your Images with Advanced Parameters
Mastering Midjourney’s parameters allows you to move from generating interesting images to crafting precisely tailored visuals for any purpose.
Mastering Aspect Ratios for Composition
The aspect ratio of your image is one of the most powerful compositional tools in Midjourney. It dictates the shape and feel of your final piece, influencing everything from the framing of a subject to the overall mood. The default square (1:1) is versatile, but exploring other ratios can unlock new creative possibilities.
For cinematic, widescreen vistas, use ratios like 16:9 or 21:9. Conversely, a portrait orientation like 2:3 or 9:16 is ideal for character art or social media posts. To set an aspect ratio, simply add `–ar` followed by the ratio to your prompt, for example, `/imagine prompt: a lone samurai on a misty mountain path –ar 16:9` [Source: Midjourney Documentation].
Fine-Tuning with Quality and Stylize Parameters
Beyond composition, Midjourney offers parameters to control the rendering time, detail, and artistic interpretation of your image. The `–quality` (or `–q`) parameter adjusts how much time the AI spends generating your image, affecting detail and coherence. Values range from `.25` (fastest, least detailed) to `1` (default) and up to `2` for the most refined output on some models. For rapid ideation, a lower quality setting is efficient, while final artwork benefits from the highest setting.
Meanwhile, the `–stylize` (or `–s`) parameter controls how strongly Midjourney applies its own artistic interpretation to your prompt. A low stylize value (e.g., `–s 50`) adheres very closely to your description, often resulting in more literal outputs. A high value (e.g., `–s 750`) gives the AI more creative freedom, producing more artistic and visually surprising results. Experimenting with this setting is key to finding a balance between your vision and Midjourney’s unique style [Source: Midjourney Documentation].
Leveraging Advanced Parameters for Precision
For ultimate control, advanced parameters allow you to fine-tune specific attributes. The `–chaos` parameter (0–100) introduces more variation and unpredictability between the four initial grid images, which is perfect for brainstorming wildly different concepts from a single prompt.
If you want to steer the aesthetic more directly, consider `–style raw`. This parameter reduces Midjourney’s default aesthetic styling, often leading to more realistic or neutral outputs that can be easier to edit or upscale later. Additionally, using a `–seed` number allows you to regenerate an image with nearly identical starting noise, enabling you to create subtle variations of a successful result—a crucial technique for projects requiring consistency [Source: Midjourney Documentation].
Optimizing Outputs for Specific Uses
Your fine-tuning strategy should align with the final use case of your image. For instance, artwork intended for high-quality printing requires maximum detail. Therefore, combine a high `–quality` setting with an appropriate aspect ratio for your print layout, and always use the `Upscale` functions to maximize resolution. Our guide on upscaling AI images for print covers this process in depth.
Conversely, creating assets for social media ads demands both visual impact and platform-specific formatting. Here, you would use platform-optimized aspect ratios (like 1:1 for Instagram feed or 9:16 for Stories) paired with a higher `–stylize` value to ensure your ad stands out in a crowded feed. For more on this application, see our guide to using AI images in paid social ads.
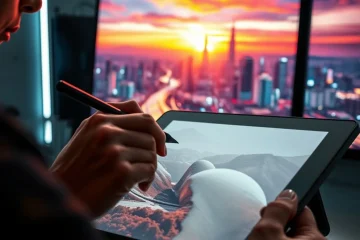
Best Practices for Iterative Refinement and Workflow
Rarely does the first image generated be the final one. The real power of Midjourney lies in iterative refinement. Use the “Vary (Subtle)” and “Vary (Strong)” buttons after upscaling an image to explore slight or major variations. Alternatively, you can use the “Remix” mode by typing `/prefer remix`; this allows you to edit the prompt when creating variations, letting you fine-tune details like color, composition, or adding/removing objects in subsequent generations. This process of revision and enhancement mirrors professional creative workflows and is a core technique for enhancing AI photos to a professional standard.
Master Iterative Refinement for Consistent Quality
Iterative refinement is the cornerstone of professional AI image generation. Instead of expecting a perfect result from a single prompt, treat the process as a dialogue with the AI. Begin with a broad concept and use each generation to guide the next, progressively adding or adjusting details in your prompts. This method allows you to correct anatomical errors, refine composition, and align the output with your precise vision. For instance, if an initial image has a distorted hand, your next prompt can specifically address that issue. This cyclical approach is far more effective than starting over repeatedly and is a key technique discussed in our guide to fixing hands, faces, and details.
Leverage Batch Generation for Creative Exploration
Batch generation is a powerful efficiency tool that enables rapid creative exploration. By generating multiple variations of a prompt simultaneously, you can quickly compare different artistic interpretations, color palettes, or compositions. This is invaluable for A/B testing marketing visuals or finding the perfect stylistic direction for a project. For example, when creating AI wallpapers, generating a batch lets you instantly see which background and mood resonates most. Similarly, it’s essential for achieving character consistency across a series of images. This technique saves significant time and provides a broader set of options from a single creative seed.
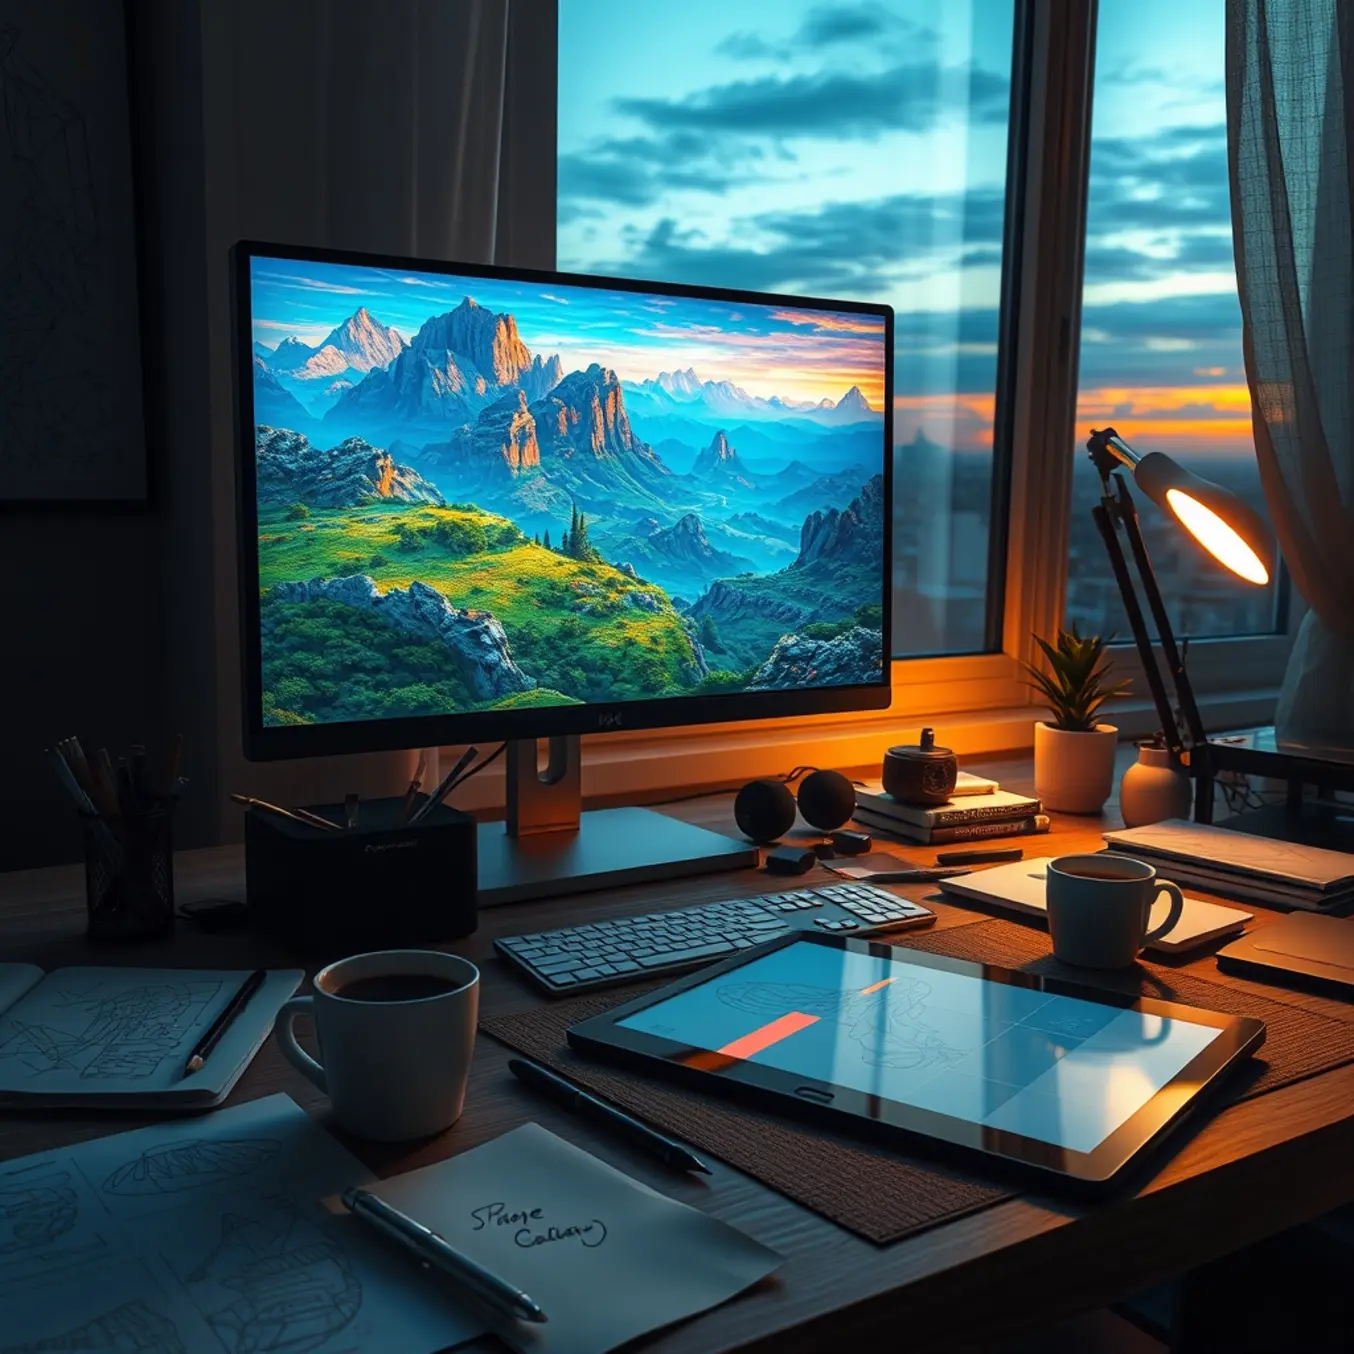
Implement a Robust File Management System
As your library of AI-generated assets grows, a logical file management system becomes non-negotiable. Disorganization can cripple your workflow, leading to lost files and duplicated effort. Establish a clear naming convention and folder structure from the start. Consider organizing by project, date, client, or style. Tagging images with keywords related to the prompt, style (like those explored in our list of top AI art styles), and final use can make future retrieval effortless. For professionals, this is as crucial as the generation process itself, ensuring that valuable assets are always accessible for product renders or social media ads.
Mastering Advanced Midjourney Techniques for Professional Results
To truly master Midjourney, you must move beyond basic prompts and explore advanced techniques that unlock professional-grade results. These methods, including image blending and character consistency, are essential for creating cohesive, high-quality art suitable for commercial use. By integrating these strategies, you can produce unique, brand-aligned visuals that stand out in today’s competitive digital landscape.
The Power of Image Blending and Remixing
Image blending is a transformative technique that allows you to merge two or more distinct images into a single, cohesive piece. This process, often called “remixing,” enables you to combine specific visual elements, styles, or concepts that a text prompt alone might struggle to articulate. For instance, you can blend a photograph of a specific location with a particular art style to create a unique scene. The `/blend` command in Midjourney is a direct tool for this, allowing you to upload multiple images and let the AI synthesize them. This method is invaluable for creating mood boards, developing complex character concepts, or iterating on a design by merging the best parts of different generations. For a deeper dive into fixing common AI art imperfections that can arise during blending, such as distorted hands or faces, our guide on fixing details in AI art offers practical solutions.
Achieving Flawless Character Consistency
Creating a consistent character across multiple images is one of the most sought-after skills in AI art generation, especially for storytelling, branding, or game development. Midjourney’s inherent randomness makes this a challenge, but it can be mastered with a systematic approach. The key lies in crafting a detailed, reusable “character seed.” This involves generating a base image of your character and then using its unique Job ID or saving specific features in a consistent prompt formula. Techniques include:
- Using the `–seed` parameter: By specifying a seed number from a successful generation, you can guide Midjourney to produce variations with highly similar characteristics.
- Detailed descriptive anchoring: Maintain a core set of unchanging descriptors in every prompt (e.g., “a woman with sharp blue eyes, freckles across her nose, and curly auburn hair in a braid”).
- Iterative refinement: Use features from previous images as image prompts for new ones, slowly adjusting the scene or action while keeping the core subject stable.
For a complete, step-by-step walkthrough on this crucial skill, explore our dedicated resource: Mastering Character Consistency in AI Art.
Elevating Prompts for Commercial-Quality Art
Transitioning from experimental art to commercially viable assets requires a shift in prompt engineering. Your prompts must become precise briefs that account for final use-case requirements. This means incorporating technical and stylistic parameters that ensure the output is ready for professional application. Key elements to include are:
- Style Directives: Specify genres like “concept art,” “photorealistic product photo,” or “corporate flat illustration” to match industry standards.
- Technical Specifications: Use terms like “clean background,” “high detail,” “studio lighting,” or “symmetrical composition” to ensure usability in layouts.
- Commercial Context: Prompt for end-use, such as “social media banner,” “packaging mockup,” or “book cover,” which subtly influences composition and focus.
Furthermore, understanding how to upscale these creations for physical media is critical. A high-resolution screen image