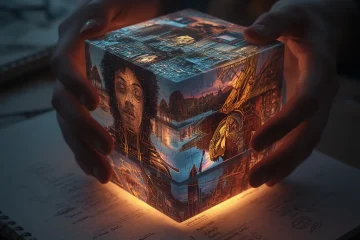
The Ultimate Guide To Creating High Quality Images In Midjourney
Quality: The Foundation of Image Fidelity
The Quality parameter is arguably the most direct technical control you have over your AI-generated image. In platforms like Midjourney, this setting influences the amount of time the AI spends “thinking” about your prompt, which directly correlates to the level of detail, coherence, and overall polish in the final output. A higher quality value (e.g., 2) will produce images with finer textures, more intricate details, and better-defined elements, while a lower setting (e.g., .25) will generate a faster, more stylized, and often less detailed result [Source: Midjourney Documentation].
For instance, when creating a realistic AI portrait, a high-quality setting is essential for rendering lifelike skin textures, individual strands of hair, and nuanced lighting. Conversely, for a quick concept sketch or a stylized graphic, a lower quality setting can be perfectly adequate and more efficient. It’s a crucial first step that sets the stage for all other adjustments.
Stylize: Shaping the Artistic Interpretation
While Quality controls technical rendering, the Stylize parameter governs the AI’s creative interpretation of your prompt. A higher stylize value encourages the model to inject more of its own artistic flair, often resulting in images that are more dramatic, visually striking, and less literal. This can lead to enhanced color palettes, exaggerated forms, and a stronger overall artistic composition [Source: Midjourney Documentation].
On the other hand, a lower stylize value forces the AI to adhere more strictly to the descriptive elements of your prompt, yielding a more predictable and literal representation. This setting is particularly powerful when exploring different AI art styles. For example, you could use the same prompt for a “cyberpunk cityscape” but achieve a photorealistic render with low stylize or a bold, graphic novel-style illustration with high stylize. Mastering this balance is key to developing a unique visual voice.
Aspect Ratio: Composing Your Canvas
The Aspect Ratio is a fundamental compositional tool that determines the shape and orientation of your image. Choosing the correct aspect ratio is not just a technical step; it’s a creative decision that frames your subject and influences the viewer’s experience. Common ratios include:
- 1:1 (Square): Ideal for social media profile pictures, product shots, or balanced, focused compositions.
- 16:9 (Widescreen): Perfect for cinematic scenes, landscape photography, desktop wallpapers, or video content.
- 4:3 (Standard): A versatile ratio often used for traditional photography and digital art prints.
- 9:16 (Portrait): Essential for mobile-focused content, social media stories, and full-length character portraits.
Selecting an aspect ratio after you’ve generated an image can lead to awkward cropping and loss of important details. Therefore, defining it upfront ensures the AI composes the scene correctly within the intended frame. This is especially critical for creating assets like professional mockups or product renders, where the format is dictated by its final use case.
Mastering Midjourney Prompts: The Core Structure
An effective Midjourney prompt is more than a simple request; it’s a structured instruction that guides the AI. The basic formula combines a subject, details, and artistic direction. For example, instead of “a cat,” you could write “a majestic Maine Coon cat with piercing green eyes, perched on a velvet cushion in a sunlit Victorian library.” This specificity gives the AI clear visual elements to work with. Moreover, using strong, descriptive nouns and adjectives yields better results than vague terms. For instance, “a weathered, ancient oak tree” is more evocative than “an old tree.”
To further refine your approach, consider the order of elements. Placing the most important subject first often helps anchor the composition. You can also use commas to separate different ideas, which the AI interprets as distinct components to integrate. For a deeper dive into foundational prompt engineering, our guide to writing perfect AI prompts for beginners offers a comprehensive starting point.
Using Weighting and Negative Prompts for Precision
Once you have a solid base prompt, you can fine-tune the output using advanced syntax. Weighting, achieved with double colons :: followed by a number, allows you to emphasize the importance of certain words. For example, a mystical forest::2 with glowing mushrooms::1.5 tells Midjourney to prioritize the “mystical forest” concept twice as much as the “glowing mushrooms.” This is invaluable for ensuring your core subject remains the focal point amidst other details.
Conversely, negative prompts, using the --no parameter, instruct the AI on what to exclude. This is a powerful tool for removing unwanted elements that commonly appear, such as --no text, watermark, blurry. If you’re struggling with common AI art flaws like distorted features, our guide to fixing hands, faces, and details provides targeted negative prompt strategies. You can combine these techniques, crafting a prompt like portrait of a cyberpunk samurai::2 --no helmet, cartoonish, deformed hands to get highly specific results.
Applying Artistic Style Descriptors
Style descriptors are the secret ingredient that transforms a generic description into a compelling piece of art. You can direct Midjourney to mimic specific artistic movements, mediums, or even the techniques of famous artists. Appending terms like in the style of Studio Ghibli, watercolor and ink, photorealistic, 85mm lens, cinematic lighting, or vector art, flat design, vibrant colors will dramatically alter the output’s aesthetic. These descriptors act as high-level creative direction, pulling from vast datasets of visual styles.
For inspiration on which styles to explore, check out our list of the top AI art styles to explore in 2025. Furthermore, you can combine style with technical parameters. Adding --ar 16:9 for a widescreen aspect ratio or --style raw for less opinionated, more literal interpretations gives you even greater control. The key is experimentation—layering a subject with a detailed environment, weighted elements, exclusions, and a strong style descriptor is the formula for achieving truly unique and high-quality AI artwork.
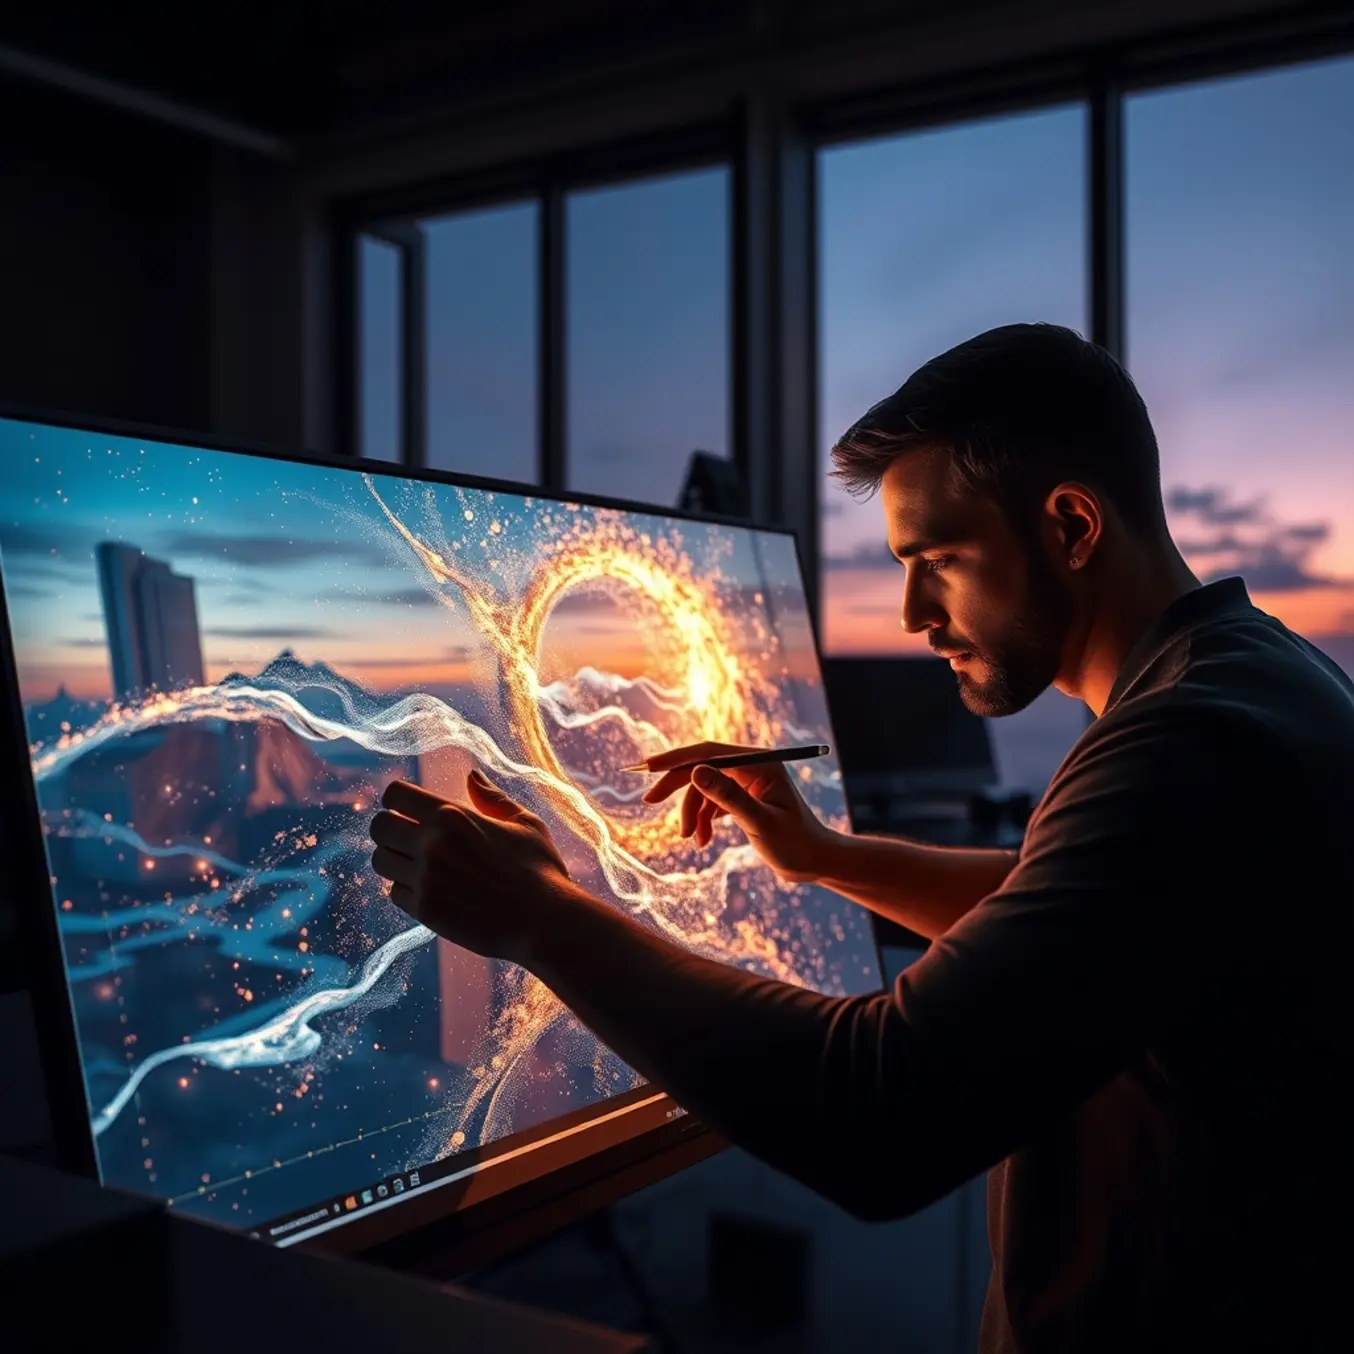
Advanced Prompting Techniques for Professional Results
Moving beyond basic text prompts unlocks the true potential of AI art generation. Advanced techniques allow creators to produce complex, professional-grade artwork with greater control and consistency. These methods involve sophisticated strategies like multi-prompting, integrating image references, and fine-tuning a suite of parameters.
Mastering Multi-Prompting and Weighting
Multi-prompting involves breaking a complex idea into separate, weighted phrases to guide the AI more precisely. For instance, instead of a single, cluttered prompt, you can separate concepts like subject, style, and mood. This approach allows you to assign different levels of importance to each element using numerical weights or syntax like double colons (::). A prompt structured as "a majestic dragon perched on a mountain peak::2 fantasy digital painting::1.5 dramatic lighting::1.2" tells the AI to prioritize the dragon and mountain scene most heavily, followed by the art style and then the lighting. This technique is essential for maintaining character consistency across a series of images or ensuring specific art styles are correctly applied.
Utilizing Image References for Precision
One of the most powerful features in modern AI art platforms is the ability to use an existing image as a reference. This goes beyond simple style transfer; it allows you to guide composition, color palette, mood, and even specific elements. By uploading a reference image alongside your text prompt, you can instruct the AI to create a new piece “in the style of” the reference or to use it for “character consistency.” This is invaluable for product rendering, where you need a specific angle, or for creating realistic portraits that maintain a subject’s likeness. Tools like Midjourney’s --iw (image weight) parameter let you control how strongly the reference image influences the final output.
Combining and Fine-Tuning Parameters
Professional results often come from the strategic combination of advanced parameters. These are commands that adjust the AI’s processing, such as:
- Aspect Ratio (
--ar): Crucial for generating images tailored for specific uses, like social media ads, wallpapers, or print formats. - Stylization (
--s): Controls how strongly the AI adheres to its own artistic interpretation versus your prompt’s literal description. - Chaos (
--c): Introduces more variation and unpredictability in the initial image grids, useful for brainstorming unique concepts. - Seed (
--seed): Using a specific seed number allows you to generate variations of a particularly successful image, enabling iterative refinement.
For example, a prompt for a landscape wallpaper might combine a detailed multi-prompt with parameters: /prompt serene lake at dawn, mirror-like water, misty pine forests::2 Ansel Adams photography style, high contrast, dramatic monochrome::1.5 --ar 16:9 --s 750 --seed 12345. This level of control is what separates amateur experiments from professional-grade concept art.
Troubleshooting Common AI Image Issues
Even the most advanced AI image generators can produce results that need a little extra polish. Common problems like blurry details, anatomical oddities, or flat lighting can detract from an otherwise great concept. Fortunately, you can fix these issues without starting from scratch. For instance, if an image is slightly out of focus, you can use an AI upscaler to enhance the resolution and sharpen details. Our guide on fixing blurry AI images provides a complete workflow for restoring clarity.
Anatomical errors, such as misshapen hands or unnatural poses, are a well-known challenge. These often occur when the AI misinterprets complex spatial relationships. To correct this, you can use inpainting tools to regenerate just the problematic area with a more specific prompt. For a deep dive into this process, see our comprehensive guide to fixing hands, faces, and details. Meanwhile, poor lighting can make an image feel flat or unrealistic. You can address this by using prompt modifiers like “cinematic lighting,” “dramatic rim light,” or “soft studio lighting” in a new generation or variation.
Remix Mode vs. Creating Variations: When to Use Each
Most AI platforms offer two powerful but distinct tools for iterating on an image: creating variations and using a “Remix” or “Edit” mode. Knowing when to use each is key to an efficient workflow.
Creating Variations is best when you want to explore different interpretations of your original prompt while keeping the overall composition and style consistent. The AI uses your initial image as a seed to generate new versions with slight changes in pose, expression, or minor details. This is ideal for when you have a solid base image but want to generate a few options to choose from. For example, if you have a good character portrait but want to see different facial expressions, generating variations is the perfect approach.
Using Remix Mode is the solution when you need to make a significant, targeted change to a specific part of the image. This mode allows you to keep most of the image intact while regenerating a selected area with a new text instruction. Therefore, use Remix mode to fix a specific problem (like a distorted hand), change an element (swap a t-shirt for a jacket), or alter the background entirely. It provides surgical control without affecting the parts of the image that are already correct. This technique is fundamental for refining realistic AI portraits or perfecting professional product renders.
In summary, generate variations to explore options from a good starting point. Conversely, switch to Remix mode when you need to correct an error or make a precise edit to an otherwise final-ready image. Mastering both will dramatically improve your success rate and efficiency.
Batch Generation for Maximum Efficiency
Instead of creating images one by one, batch generation allows you to produce multiple assets simultaneously. This approach is ideal for projects requiring a series of images, such as social media campaigns or product catalogs. Most advanced AI art platforms, including Midjourney and Stable Diffusion, support batch processing. By setting up a queue of prompts with slight variations, you can generate dozens of images in a single session, dramatically cutting down production time. For instance, you could create a full set of seasonal marketing visuals in one go. This method not only saves hours but also ensures visual consistency across a collection.
Organizing Your Digital Workflow
A chaotic file system can derail even the most efficient batch process. Therefore, establishing a clear organizational structure from the start is crucial. Create dedicated folders for different projects, clients, or styles. Moreover, adopt a consistent naming convention for your files, including details like date, prompt keywords, and iteration number (e.g., “2024-11-21_cyberpunk-cityscape_v3.jpg”). Using digital asset management (DAM) tools or even a simple spreadsheet to log prompts and their corresponding outputs can save immense time during revisions or when repurposing content. An organized library turns your past work into a searchable asset, not a forgotten file.
Implementing Rigorous Quality Checks
Speed means little without quality. Implementing a systematic review process is essential to catch common AI artifacts like distorted hands, illogical lighting, or blurred details. After a batch generation, perform a first-pass review to filter out obvious failures. Next, a more detailed inspection should focus on alignment with the project’s creative brief and technical specifications, such as resolution and aspect ratio. For critical projects, consider using AI-powered tools specifically designed to fix hands, faces, and details in AI art. This two-tiered check ensures only your best work moves forward.
Building a Reusable Library of Styles and Prompts
Your most valuable asset is a curated library of proven styles and effective prompts. Every time you achieve a perfect result—a specific cinematic look, a branded color palette, or a consistent character—save the exact prompt and settings. Over time, this becomes a personalized style guide that guarantees brand consistency and accelerates future projects. For example, you can build a “Brand Visuals” library with prompts that generate your logo in various scenes or a “Product Render” library with lighting setups that work for your items. Explore our guide on the top AI art styles to explore in 2025 for inspiration to populate your library. This practice transforms creative exploration into a repeatable, scalable process.